In this post we will be providing step by step instructions on how to Integrate Salesforce with NetSuite using Mulesoft ESB. This article is for those who want to integrate Salesforce.com with NetSuite and have not used Mulesoft before.

MuleSoft ESB (aka Mule ESB) is the lightweight Java-based enterprise server (ESB) on Anypoint Platform from MuleSoft. Anypoint Platform is an integrated platform that lets developers connect applications together quickly and easily, enabling them to exchange data. Anypoint Platform enables easy integration of existing systems, irrespective of what technologies are used by the system, including JMS, Web Services, JDBC, HTTP, or other. Mule, ESB can be distributed anywhere, can compile and organize events in real-time or in batch, and has a universal connection.
Salesforce (aka Salesforce.com) is a Cloud-based CRM (Customer Relationship Management) application and platform that brings companies and customers together. Salesforce is one of the leading integrated CRM platforms that gives all your departments – including marketing, sales, trade, and service – a single, shared vision for all customers.
Oracle NetSuite is a leading cloud-based Business Management / Enterprise Resource Planning (ERP) software. NetSuite helps companies manage core business processes in a single, fully integrated system covering ERP / Finance, CRM, e-commerce, Inventory, Human Resources, Supply Chain Management, and more.
Steps for Integration Between Salesforce and NetSuite
Following are the key steps for integration between Salesforce and NetSuite using the MuleSoft Flow Designer.
In this article we have taken a very simple use case of Account (Salesforce) to Customer (Mulesoft) integration. Whenever an “Account” is created in Salesforce the Mule flow will create a “Customer” in Oracle NetSuite.
- Getting the required software / information
- MuleSoft: Need a MuleSoft Developer account of Anypoint Studio by using “https://anypoint.mulesoft.com/login/”.
- SalesForce: Need a Salesforce account and Security Token of a SalesForce Account.
- Generating the Security Token of a SalesForce Account:
- Login to Salesforce → User menu → Setup → Personal Setup → My Personal information → Reset My Security Token.
- Generating the Security Token of a SalesForce Account:
- NetSuite: Need a NetSuite Account,Role Id,Account Id and Application Id.
- Generating Account Id and role Id:
- Login to NetSuite → Setup → Integration → SOAP Web Services Preferences.
- Fill the Details in the Sublist like Name, Role and add it then save it.
- Generating Application Id:
- Login to NetSuite → Setup → Integration → Manage Integration → New
- Fill the Details like Name and other things, Uncheck the things related to “Token based Authentication and Oauth Authentication.
- Generating Account Id and role Id:
- Setting up the connecter
- Login in to the MuleSoft Developer Site by “https://anypoint.mulesoft.com/login/”.
- After Login to MuleSoft go to Design Center → Create new → Create Mule Application (Create new application) → Enter the name of the flow (ex: SalesForce to NetSuite) → Create.
- In the Next window, Select the Trigger Type “Here we are using the salesforce” and Operation as “On New Object” Which makes the Trigger point at Salesforce. Then press the Next button.
- Select the Target which is the final action in the flow, “Here we are using NetSuite Connecter”, and select the Operation “Here we are using Add Record”.
- Connecting the NetSuite to Mule Flow Design Center
- The first two steps are the same which we have used in connecting the Salesforce except that here we are connecting to NetSuite.
- Fill the Details like “Connection name and Connection Type”, Here we are using the login Authentication Type Which needs Email id, Password, Account id, Role id and application id.
- After Filling the Details Test the connection. If the connection is “Success” we are good to go and then press the ‘Save’ button.
- Select the Record type, “Here we will be selecting the Customer as Record type” and close the window.
- Mapping the Salesforce and NetSuite Metadata by “Transform Connecter”
- Select the Transform connector which is in between Salesforce and NetSuite.
- Drag and drop the data from the input to output (or) we can use the Auto Mapping Feature which is given by MuleSoft. Here you will be selecting the Name by using Drag and drop from Input to Output Payload and setting the default value in “Subsidiary” value as “1”. Once done close the window.

- Testing and Deploying the flow
- After completing the above process, we can test the flow by Selecting the button called “Test” which is at the Top right corner of the window.
- After starting the Test process we can create the Account at Salesforce which will create a customer record at NetSuite with the same name which is given at NetSuite.
- If the Process is Successful then we can Deploy the flow by pressing the down arrow icon at Top right corner of the window and selecting the “Deploy Application” button which pops up the “Deploy Mule Application” window.
- Select the Target Environment like sandbox or production and finally select the flow, and press Deploy button.
Bingo! Your first Salesforce to Oracle NetSuite integration using Mulesoft is deployed. Please write in comments below with your feedback and ask questions to know more about Salesforce to Oracle NetSuite integration.
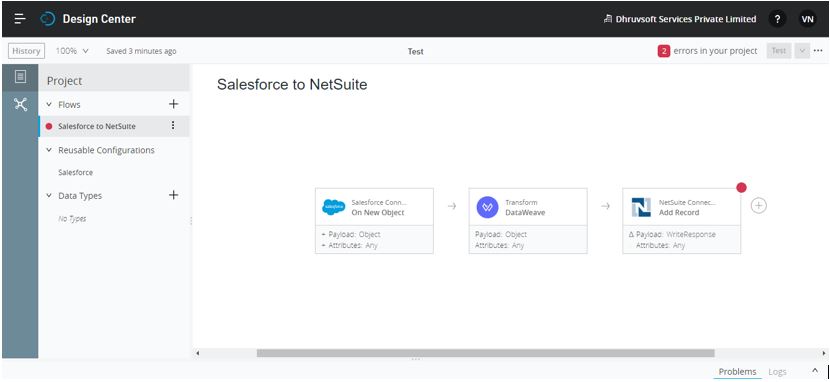
Then the integration flow will look like this

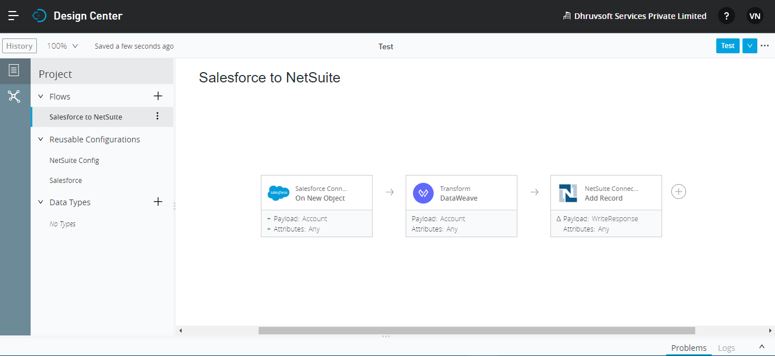
Then the integration flow will look like this

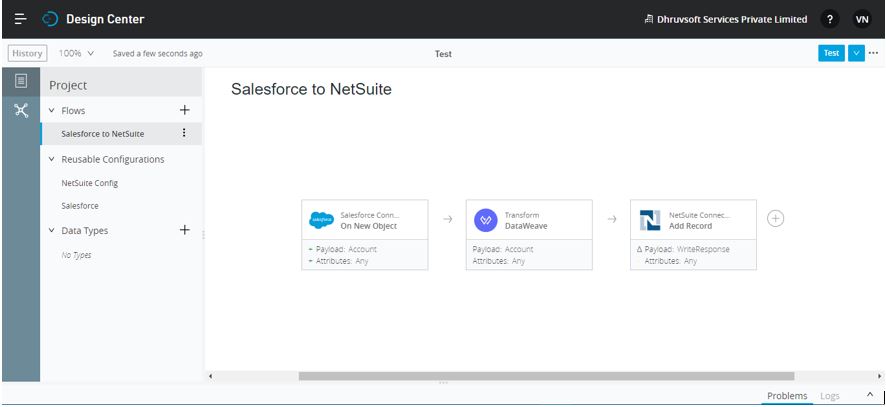
Then the integration flow will look like this


 “NS Success” is the NetSuite Consulting Practice of Dhruvsoft Services Private Limited – a leading NetSuite Solution Provider Partner from India – providing services worldwide …